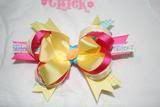
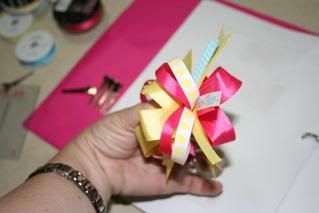
My quick project for today was making an Easter bow to go with G's easter shirt. It is a middle spike 5 inch stacked bow. I am not posting a complete tutorial on it, but I will post a picture of each individual bow, and how they are layered. These are my favorite bows!
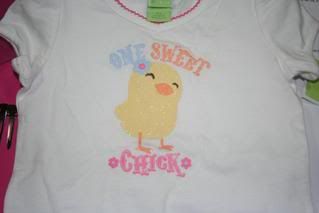
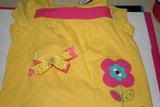
Ok, here is the shirt that NEEDED a matching bow! ;)
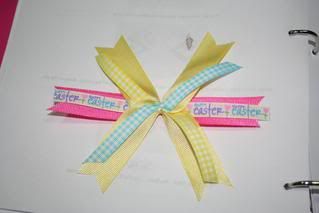
I started with my base (bottom and top) bows. I made two twisted boutique bows in 7/8 in. ribbon

Then, I made the surrounding loops.
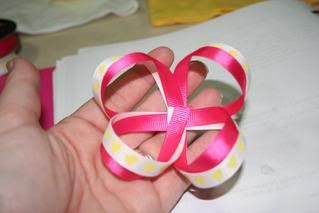
After the surrounding loops, I made the spikes
When, the layers were all done, I sprayed them with starch and baked them at 225 degrees for 15 minutes. Starching and baking helps them keep their shape for a really long time.
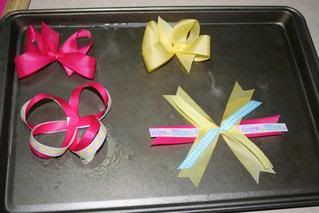
While they were baking, I whipped a quick little bow for another shirt that NEEDED a bow, too! I had to utilize the 15 minutes anyway!
Ok, so back to the original bow. After it was done baking, I attached each layer to the other starting with the pink twisted bow as the bottom base, then, the spikes. After the spikes, I attached the surrounding loops. On top, I attached the yellow twisted boutique bow.
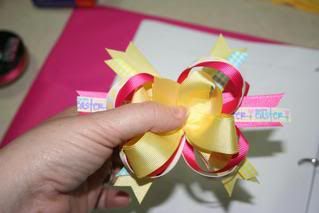
Then, I lined a single prong alligator clip, glue gunned the bow to the clip, and attached the center ( a cute little orange easter egg)

All Done!!!!!
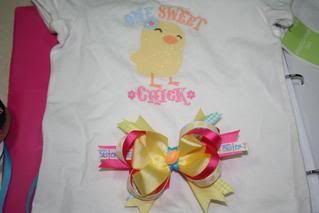
and a closer view